Thermal Imaging for Solar Panel Diagnostics: Identifying Hotspots and Performance Issues
Thermal Imaging for Solar Panel Diagnostics: Identifying Hotspots and Performance Issues
Solar panels are a great way to harness renewable energy, but like any technology, they can develop issues over time. One of the most effective methods for diagnosing problems with solar panels is thermal imaging. This blog post will explore how thermal imaging works for solar panel diagnostics and why it’s so important for maintaining optimal performance.
What is Thermal Imaging?
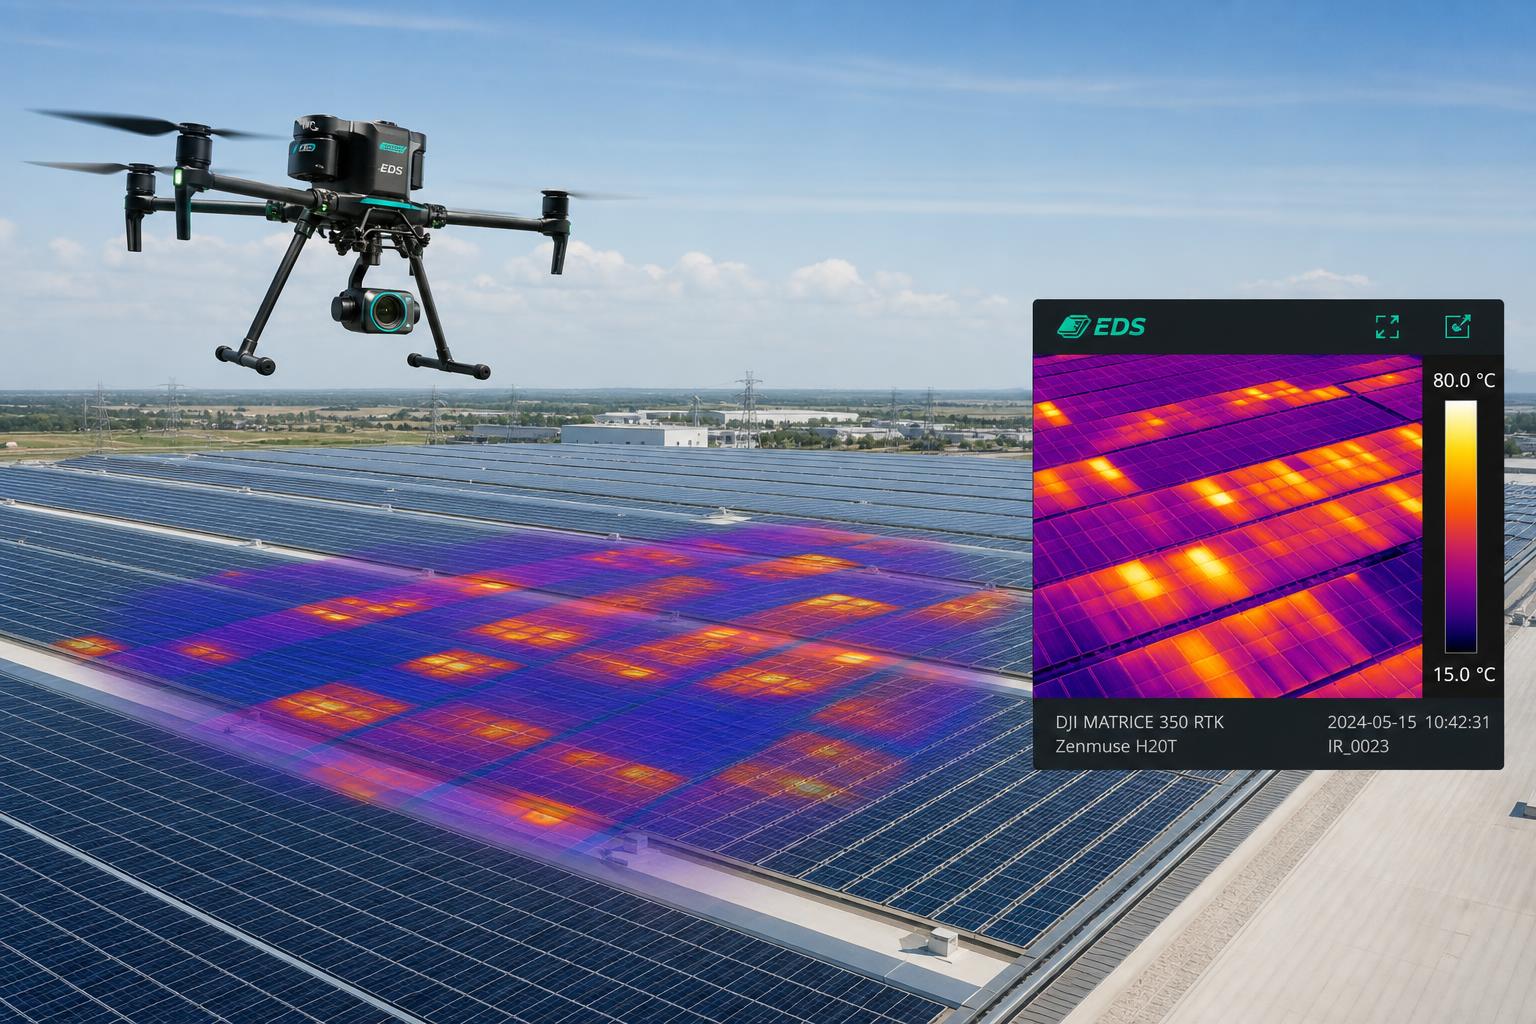
Thermal imaging is a technique that uses special cameras to detect heat patterns. These cameras can see temperature differences that are invisible to the naked eye. For solar panels, this means we can spot areas that are hotter than they should be, which often indicates a problem.
How Thermal Cameras Work
Thermal cameras detect infrared radiation, which all objects emit. The amount of radiation depends on the object’s temperature. The camera converts this radiation into a visible image, where different colors represent different temperatures.
Why Thermal Imaging is Useful for Solar Panels
Solar panels are designed to convert sunlight into electricity efficiently. When parts of a panel get too hot, it usually means they’re not working as well as they should. Thermal imaging helps us find these hot spots quickly and accurately.
Benefits of Thermal Imaging for Solar Diagnostics
- Non-invasive: We can check panels without touching them
- Quick: Large areas can be scanned in a short time
- Accurate: Even small temperature differences can be detected
- Early detection: Problems can be found before they cause major issues
Common Issues Detected by Thermal Imaging
Hotspots
Hotspots are areas on a panel that are much warmer than the rest. They can be caused by:
- Damaged cells
- Dirt or debris blocking sunlight
- Internal wiring problems
Bypass Diode Failures
Bypass diodes help panels work when part of them is shaded. When these fail, they can cause overheating. Thermal imaging can spot this issue easily.
Delamination
This happens when layers of the panel separate. It often shows up as cooler areas in thermal images because air gaps reduce heat transfer.
How We Use Thermal Imaging in Our Services
Our team uses top-of-the-line thermal cameras to inspect solar installations. We follow a careful process to ensure we get accurate results:
- We scan panels during peak sunlight hours
- We use drones for large or hard-to-reach installations
- We analyze images carefully to identify any anomalies
- We provide detailed reports with recommendations
Case Study: Identifying a Hidden Issue
“Last year, we scanned a large commercial solar array and found a series of cells that were 20°C hotter than the rest. The client hadn’t noticed any drop in performance yet, but replacing those cells prevented a major failure.”
The Importance of Regular Thermal Inspections
Regular thermal scans can help:
- Maintain peak efficiency
- Prevent unexpected failures
- Extend the life of solar installations
- Ensure you’re getting the most from your investment
Conclusion
Thermal imaging is a powerful tool for keeping solar panels working their best. By spotting issues early, we help our clients save money and keep their renewable energy systems running smoothly. If you haven’t had your panels checked recently, consider scheduling a thermal inspection to ensure they’re performing at their peak.
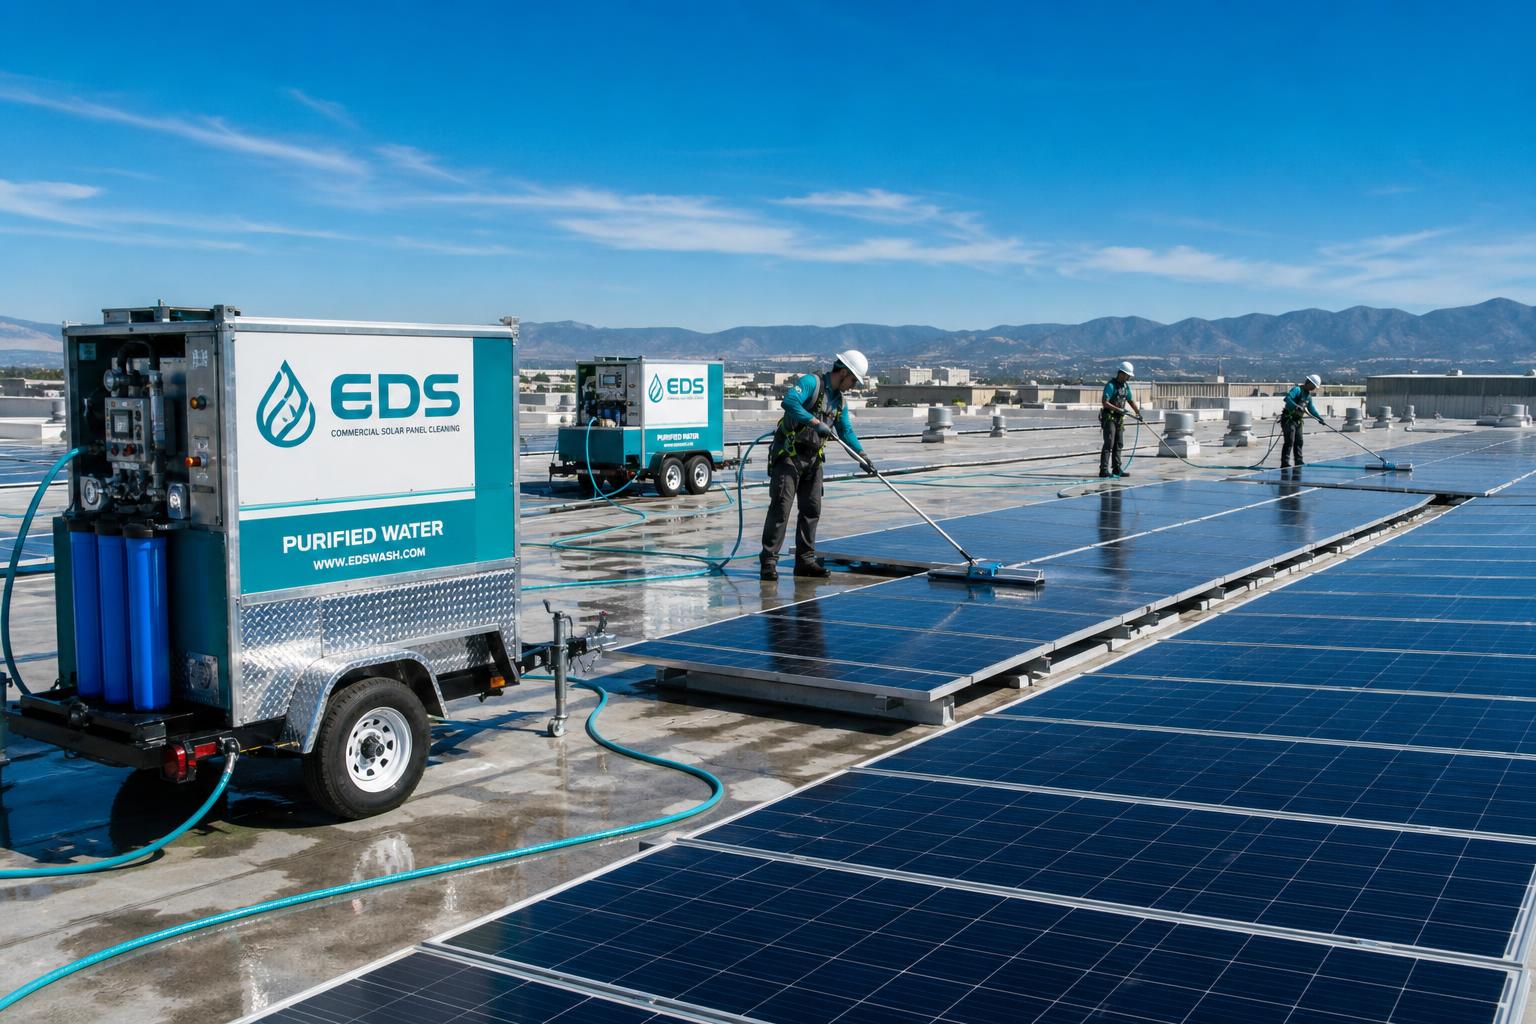
Introduction Hotspots are one of the most damaging and least visible threats to commercial solar panel performance. A hotspot occurs when a cell in a panel produces significantly less current than its neighbors — forcing that cell to dissipate power as heat instead of contributing to output. Left undetected, hotspots degrade cell performance over time and can eventually damage the panel itself. Thermal imaging cameras make these invisible heat signatures immediately visible, turning a guesswork inspection into a precise diagnostic. Here’s how thermal imaging works in a commercial solar context and what it means for your maintenance program. Common Local Pollutants Pollen Ah, spring! The birds are chirping, flowers are blooming, and… your solar panels are getting covered in pollen. If you live in an area with lots of trees or flowers, you’ve probably noticed that yellow dusting on everything come springtime. Did you know? In some areas, pollen can reduce solar panel efficiency by up to 25%! Here’s what you can do: Regular cleaning during pollen season (usually spring) Consider installing a pollen filter around your panels Plant low-pollen producing plants in your garden Industrial Dust For those of us living near factories or construction sites, industrial dust can be a real pain. This stuff is often sticky and can really cling to your panels, blocking out precious sunlight. My friend Sarah lives near a cement factory, and she noticed her solar output dropping significantly over time. After a good cleaning, her panels were back to full power! To combat industrial dust: Clean your panels more frequently, especially after windy days Use a slightly stronger cleaning solution (but be careful not to damage the panels!) Consider installing protective covers when not in use Saltwater Corrosion Living by the sea sounds dreamy, right? Well, it can be a bit of a nightmare for your solar panels. Salt in the air can corrode the metal parts of your solar setup and leave a residue on the panels themselves. To protect against saltwater corrosion: Rinse panels with fresh water regularly Apply a protective coating designed for marine environments Make sure all metal components are properly sealed and protected Cleaning Tips for Different Pollutants General Cleaning Method Start with a gentle rinse to remove loose debris Use a soft brush or sponge with mild soap and water Rinse thoroughly with clean water Dry with a squeegee or soft cloth to prevent water spots Pollen-Specific Cleaning Clean early in the morning when pollen counts are lower Use a slightly damp microfiber cloth to pick up pollen particles Consider using an air blower before washing to remove loose pollen Industrial Dust Removal Use a biodegradable degreaser for extra cleaning power Let the cleaning solution sit for a few minutes before scrubbing Rinse extra thoroughly to remove all cleaning residue Saltwater Residue Cleaning Use distilled water for cleaning to prevent additional mineral deposits Apply a vinegar solution (1 part vinegar to 8 parts water) for tough salt stains Dry panels immediately and thoroughly to prevent water spots Preventive Measures Protective Coatings There are some great protective coatings out there that can help keep your panels cleaner for longer. These work kind of like the wax on your car — they create a slick surface that dirt and grime have a hard time sticking to. Automated Cleaning Systems For those who want to take the work out of cleaning, there are automated systems available. These can range from simple sprinkler-like setups to more advanced robotic cleaners. They’re especially useful in dusty or high-pollen areas. Regular Maintenance Schedule The best way to keep your panels in top shape is to stick to a regular cleaning schedule. How often you need to clean will depend on your local conditions, but a good rule of thumb is to check them monthly and clean as needed. Conclusion Remember, clean panels are happy panels! By understanding the unique challenges in your area and taking steps to combat them, you can keep your solar setup running at peak efficiency. So grab that squeegee, put on some tunes, and show your panels some love. Your wallet (and the planet) will thank you! [/oxygen] #respond Copyright 2025 Every Detail Solar® All Rights Reserved.